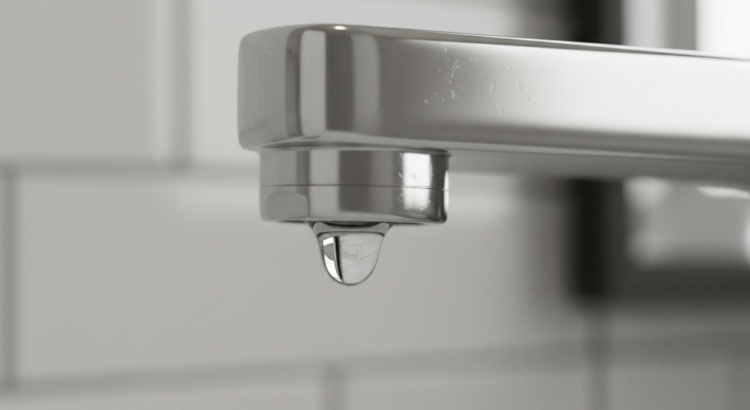
There’s nothing quite as annoying as the incessant drip-drip-drip of a leaky faucet. Not only is it irritating, but it also wastes water and can lead to higher utility bills. The good news? Fixing a leaky compression faucet is a surprisingly straightforward DIY project, even for absolute beginners. This guide will walk you through the process, saving you money and the headache of that persistent drip.
Understanding the Leak: The Core Culprit
Most leaky compression faucets are caused by a worn-out rubber washer inside the handle assembly. Over time, these washers stiffen and crack, losing their seal and allowing water to escape. Our goal is simply to replace this tiny, inexpensive part.
Gather Your Tools and Get Started Safely
Before you begin, gather these essential items: an adjustable wrench, a flathead screwdriver, and a replacement washer assortment (available cheaply at any hardware store). Most importantly, **turn off the water supply to the faucet**! You’ll usually find a small shut-off valve under the sink. Turn both hot and cold handles to ensure no residual water pressure before proceeding.
The Step-by-Step Fix: From Cap to New Washer
First, use your flathead screwdriver to gently pry off the decorative cap on top of the faucet handle. This often hides a screw. Unscrew this screw and remove the handle. Next, you’ll see a hexagonal packing nut. Use your adjustable wrench to carefully loosen and remove this nut. Beneath it, you’ll find the stem assembly. Carefully pull the stem out. At the bottom of the stem, you’ll locate the old, worn-out rubber washer. Pry it off with your screwdriver or a small pick. Replace it with a new, matching washer from your assortment. Reassemble everything in reverse order: insert the stem, tighten the packing nut (don’t overtighten!), reattach the handle, and secure the decorative cap.
Testing and Troubleshooting
Once everything is back together, slowly turn the water supply back on and check for drips. If the leak persists, you might have another worn washer, perhaps a smaller O-ring on the stem itself. If so, repeat the process to replace it. A common mistake is overtightening the packing nut, which can make it difficult to turn the faucet or damage the new washer. Aim for snug, not forceful, tightness. Success! Enjoy your newly silent, leak-free faucet.